Weekend Project: DIY Greenhouse Nursery
I love baby plants because they grow quickly and it’s really rewarding to see them flourish in front of your eyes. But at the same time, they’re not the most robust plants out there and require a lot of attention and care.
I live in USDA Zone 10B (Los Angeles), where temperatures are at least 10 degrees higher than the West Side and the dry wind blows in your face like a giant hairdryer on a triple-digit day.
I have my humidifiers going on full blast all day, but that doesn’t seem to cut it for the tiny and delicate baby plants in 2″ – 4″ pots. I also have to run the AC to keep the humans and three birbs alive in the house.
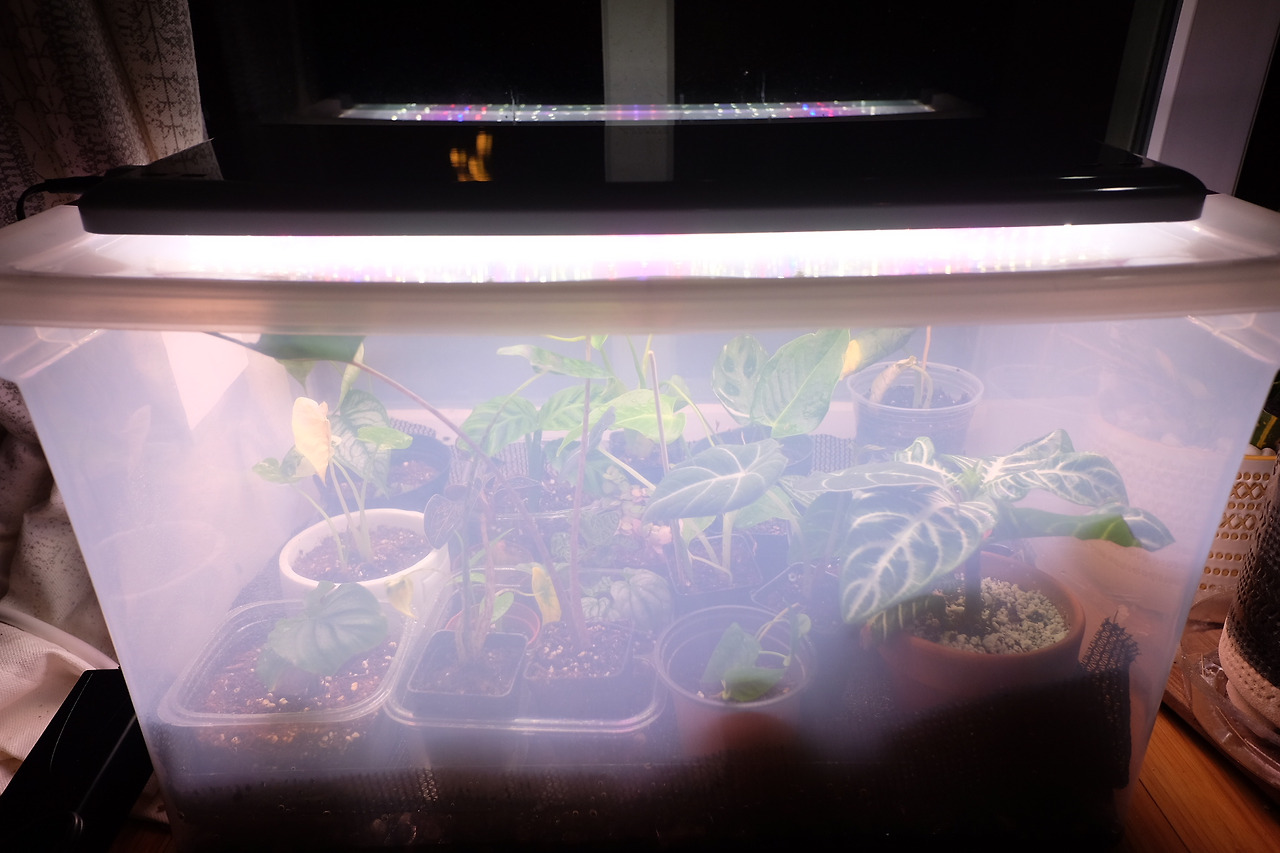
With BiOrb being all the rage lately, I decided to put on my DIY hat and make a poor-man’s version of an enclosed greenhouse for my smaller plants. BiOrb is a nice idea, but after watching the installation videos, I decided I’d rather put money into buying plants than the enclosure.
So here’s what we need to make a controlled enclosure:

1. Semi-clear large plastic bin with lid (Target, walmart, anywhere – try to get one with a clear lid!)
2. Pea Pebbles from home depot or Lowes (go to the big bag material section – don’t buy the fancy bottled ones.. they’re way overpriced for what you get)
3. Sun Shade fabric (they cut it by the yard that HD or Lowes) or eggcrates
4. Water
5. Grow light if possible (I used Root Fram’s All-purpose LED Grow light 45W)
6. Plants that need TLC or high humidity
The basic logic behind this is very simple. Trap humidity using the pebble tray water method on a larger scale!
Step 1.
Clean out your plastic bin.
I use vinegar + water mix solution to wipe away any dust or weird plastic smell that lingers.
Step 2.
Wash/rinse your pea pebbles thoroughly.
These rocks have a lot of dust and dirt on them, and you have to rinse them until water runs clear and you don’t have any dirt at the bottom of whatever container you are using to wash them.
Step 3.
Line your plastic container with the pebbles evenly

Step 4.
Start pouring in water. Make sure you don’t put too much in.
You want it to a point where the water sits below the highest point of the pebbles, so the plants don’t have to sit directly on a puddle of water.


Step 5.
Line the top of the pebbles with Sun Shade Fabric, or egg crates.
Make sure no water is coming above the surface and puddling.


Looking back, I think egg crates would’ve made more sense and provided more stability for the plants.
Also, if you’re using fabric like me, make sure you cut it a bit larger than the bin, so the ends can fold up like the picture.
Step 6.
Originally, I had thought of building a mini terrarium by adding branches and moss and soil and all that… But, I decided I didn’t have for all that. So I started putting my plants in.

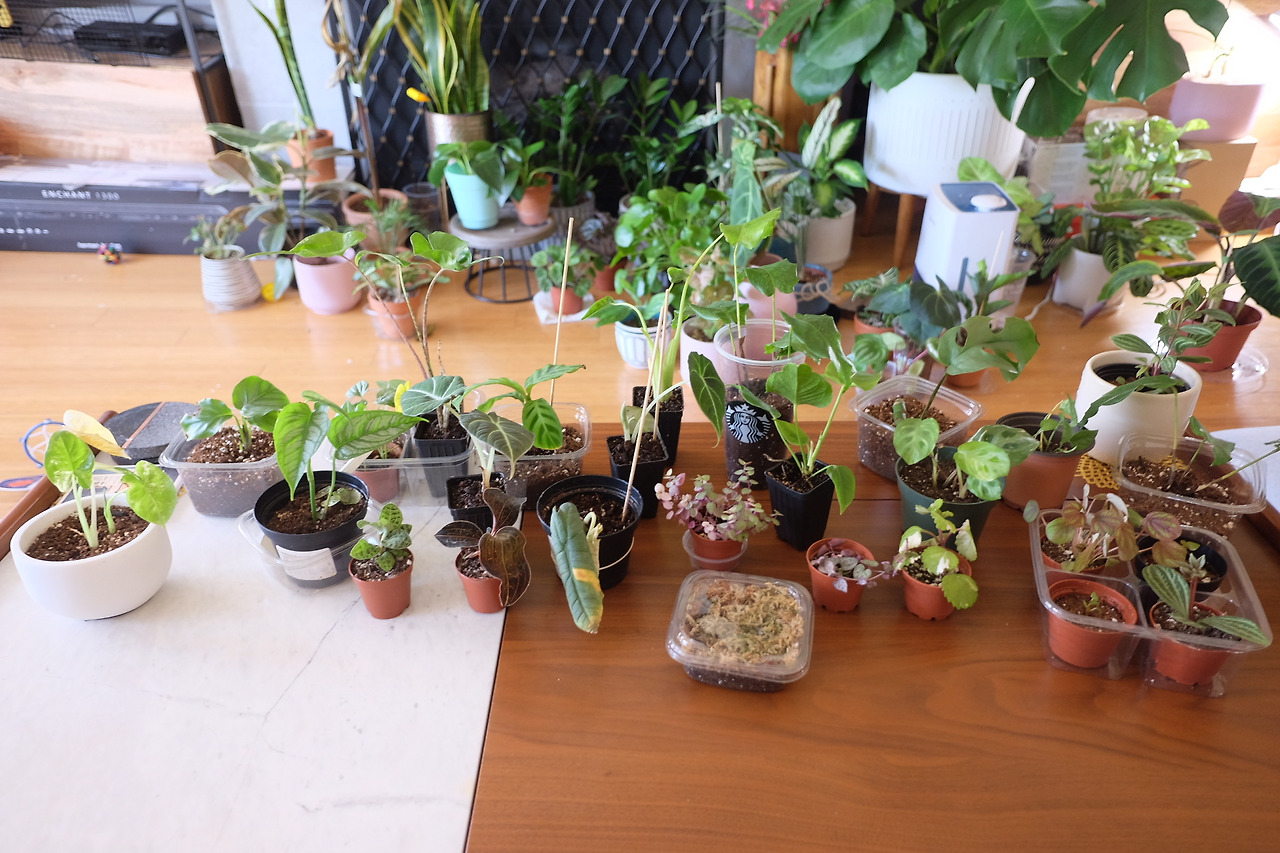
Here’s a picture of everyone before going in –

Some didn’t need to go in.
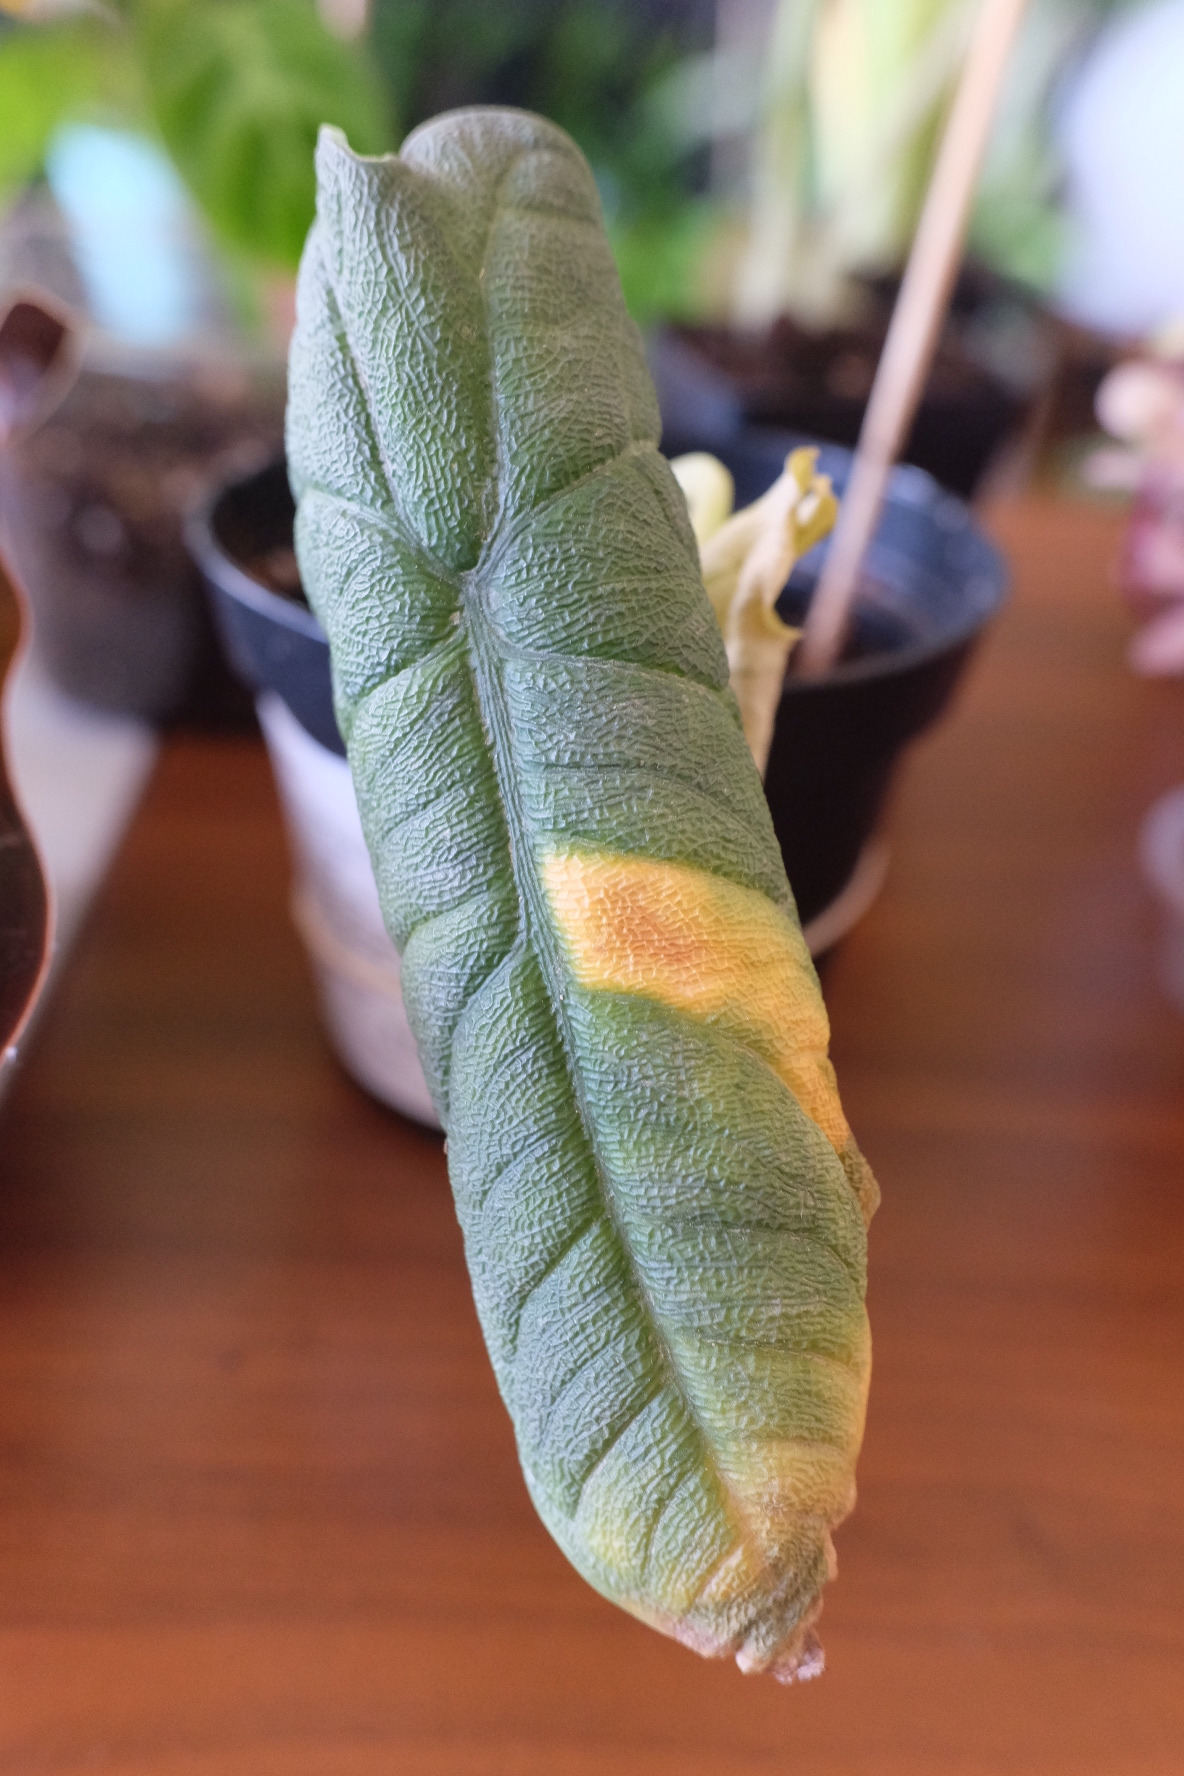
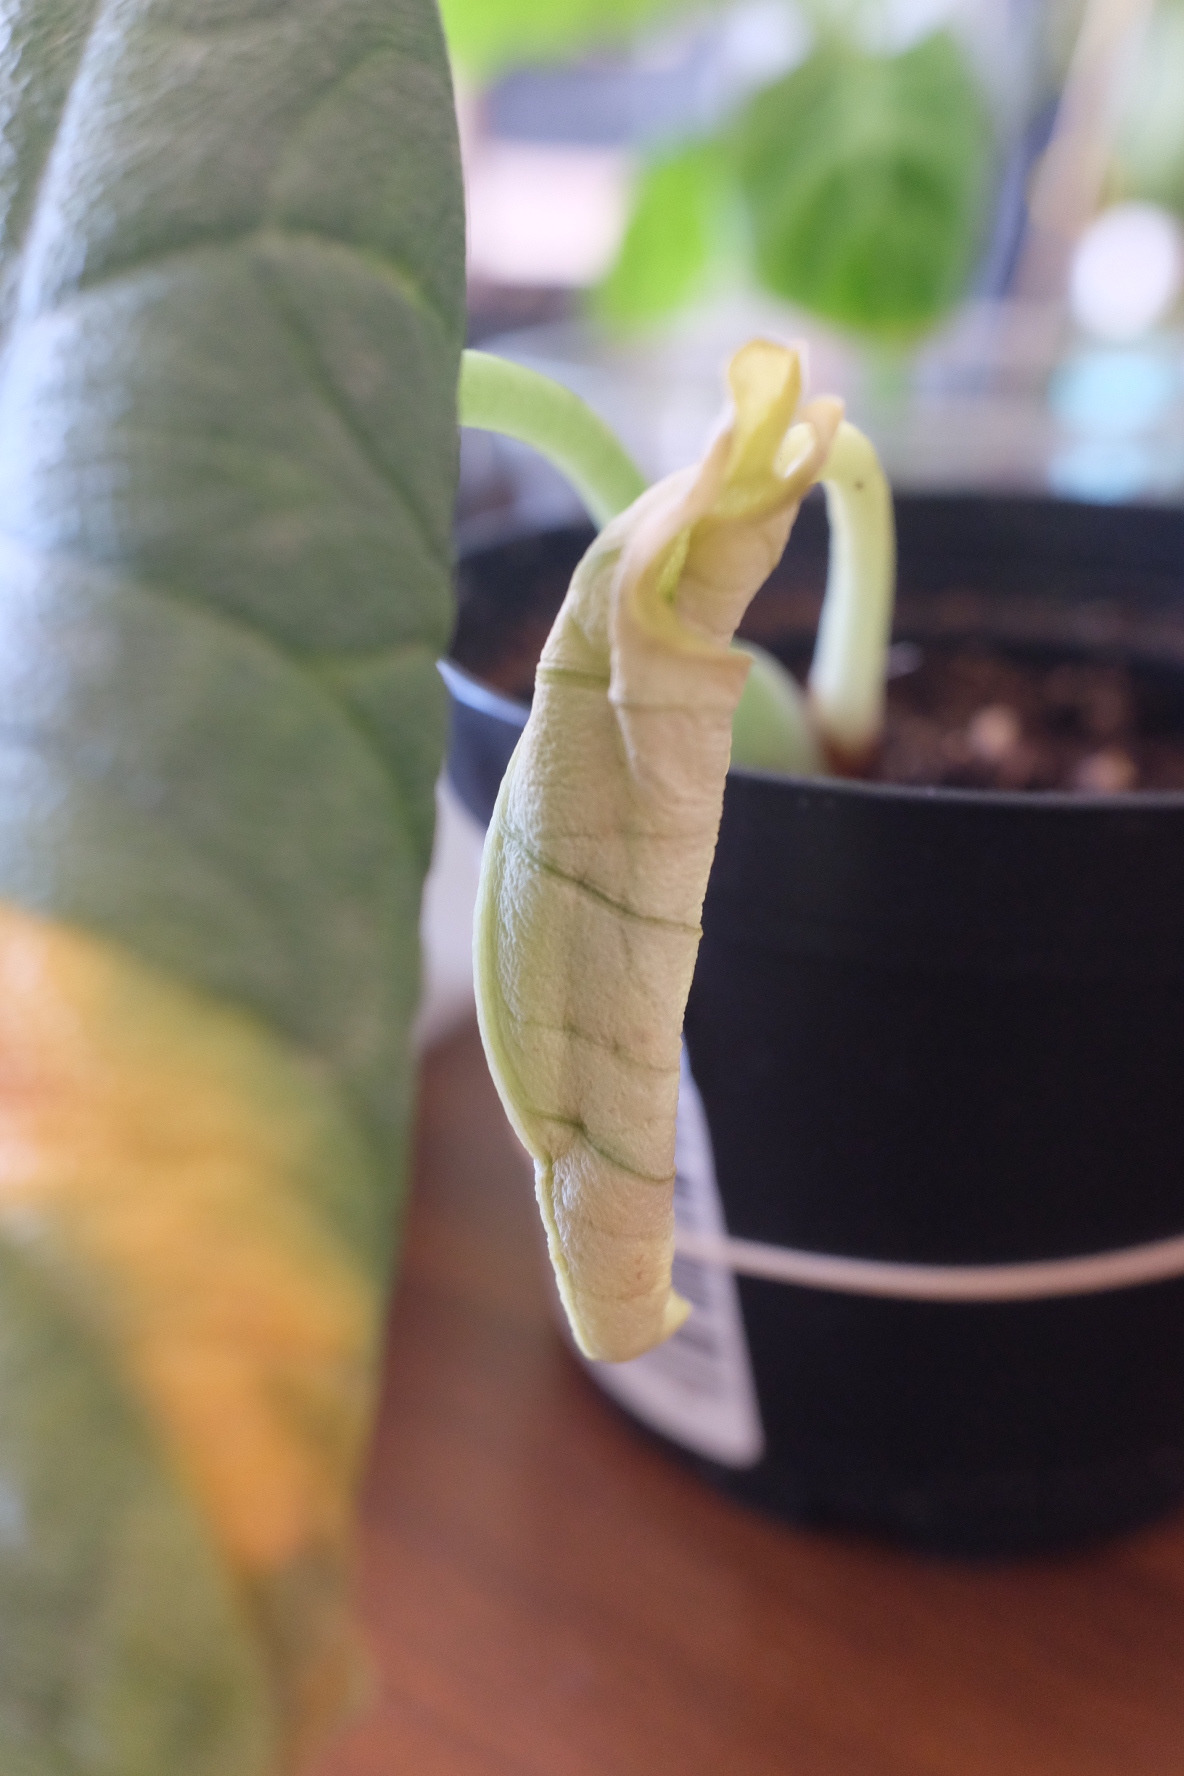
The most urgent one was my Alocasia Melo – who came all shook in the mail, and wasn’t recovering well. The baby leaf on this plant was also suffering..


The seller advised that I give this plant 100% humidity to help the leaf spread out again – which led me to build this greenhouse in the first place.
Step 7. (this step is me being extra)
Try to trap in some humidifier mist by funneling the mist with the lid into the bin. Quickly close the lid.
(picture omitted for this step, since I looked ridiculous LOL)
Step 8.
Position the grow light on top of the lid so everyone in the bin can receive good light.

Step 9.
Patiently wait and see the babies grow 😉
Super simple, yeah?
Enjoy your little greenhouse at home for plants that need some extra love.
Will post more on this in the future.
Love,
Catalina
